How Englert’s 3D Panel Animations Were Made
Often there is no better way to show a client how your product works than to create a video. Sometimes, this is not as simple as shooting video, as the actual detail of your product is lost ‘in-real-life’. In these cases using 3D modeling and animation is the best way to convey the detail which makes your products so unique.
Englert’s metal roofing panel systems utilize several mating and mounting methods, each suitable for a specific purpose. As part of the new website we built, we created ten animations showing how each of the different panel systems mated one to the next and with the underlayment. As a company, we have been very proud of the work done on these animations, and I remember seeing the first one and feeling giddy at the amazing work the team had done! The work performed is best summarized by developer extraordinaire, Juan Cortez…
The overall process was pretty simple, but the work is time consuming, challenging, yet very rewarding. We used two software packages to create the animation and the final video, and spent many intimate hours using them.
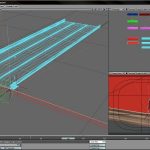
The animation was developed using a 3D package called ‘Lightwave‘ from the Newtek company, which consists consist of two programs: the 3D modeler and the 3D renderer.
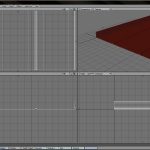
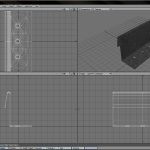
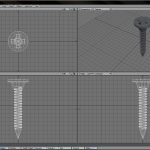
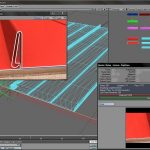
We received several reference photos and blueprints of the various panels made by Englert. We were also sent the actual clips used for mounting, and took photos of them as well. Those images were loaded as backgrounds in the 3D modeler program, and served as a template to build scaled pieces of the final pieces: seamers, panels, underlayment, screws, etc.
While the process of creating the pieces is quite difficult, the animating process is even more complex! Before could animate anything, we had to understand how each of the panel systems worked and mated to create a real finished roof. We watched field shot video, photos, cardboard cutouts, and discussed them with the engineers, until we truly understood how all the pieces fit and work.
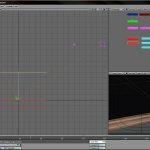
Now that we understood the systems, and had built virtual 3d wire models of the panels, seamers, screws, and mounting clips, we loaded everything into the 3D rendering software. Many things happen simultaneously to create the final effect of mimicking the process of a panel being installed, and capturing that detail lost in a ‘real’ video shoot. Not only do the pieces move and mate, the camera must move to capture the detail we were all after, and in one complex fluid motion.
For each panel we followed a similar method. We set camera angles and camera movement, and animated the different components to render a low quality video for review by the Englert engineers. This was required to correct any mistake that the animation would have regarding the panel installation, before spending hours rendering high-quality versions. Several iterations were made!
After getting final approval on the low-resolution version, we did a ‘quick’ few frames rendered in high-quality with multiple light sources, texture, and color, as the next approval phase. We did this to short-circuit any issues which may arise because this process is very time consuming. Rendering takes a lot of computing power and the project was not large enough as to require renting a large render farm. So literally after a night of rendering, we would obtain a 1 minute video in high quality, ready to be post-produced! Mind you, there were ten of these!
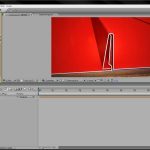
The post-production was achieved using ‘Adobe After Effects‘. With this software package, we tinted, added noise, enhanced colors, resized the video and published to flash video quality, using several layers to achieve the differents effects on the video. Once we published it, we attached it to a video player and uploaded it to our servers for review by Englert. Repeat!
The completed videos were all published on the metal panel section of Englert’s new website. Be sure to contact us… your products may also benefit from a little 3D modeling magic!
